Today, Win and I went on a beautiful hike in Malibu California on one of the many trails in the Santa Monica mountains. The weather was in the mid-70s --absolutely perfect with a Mediterranean-like climate. The trail we chose was the Grotto Hike which lead us through a gorgeous mountain-side walk, over an open valley, through woods and over multiple, enormous boulders into an intimate grotto and waterfall. It was an absolutely charming experience and definitely a trail I would love to try again.
Along the way, we saw some lovely local flora and fauna some of which included: Eucalyptus, Coast Live Oak, Dasylirion and Dudleya succulents. The hike itself was 3 miles from the trail head to the grotto and back, but expect steep up & down hill treks and a quite bit of rock climbing at the end! Since we stopped for photos and to look around, the hike took us about 3 hours. :) We really took our time!
Enough talk: more photos!
Win standing at Circle X Ranch. You can find trail maps and rangers here. (And there's a restroom here!)
At the Grotto Trail head. From Circle X Ranch, you have to walk a while and past a campground to reach this spot.
Looking over a ledge, we think we see Dudleya style succulents clinging to the mountain side.
Win looking at rocks.... suiseki hunting, perhaps?
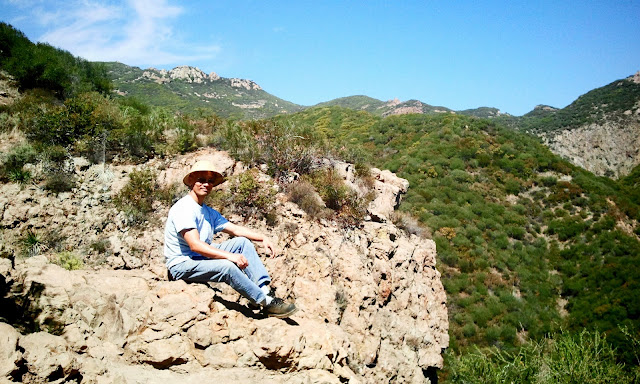
Along the trail there are many picturesque spots overlooking the Santa Monica Mountains. :)
Along the way, you'll meet little critters just hanging out.
This was a beautiful looking stem of flowers on a native plant.
Win walking through a dry creek looking for rocks. This tree and boulder were incredibly huge.
In the woods, there were many beautiful and looming trees. Look out for lovely examples of hollowed trunks and branches.
Inspecting rocks.
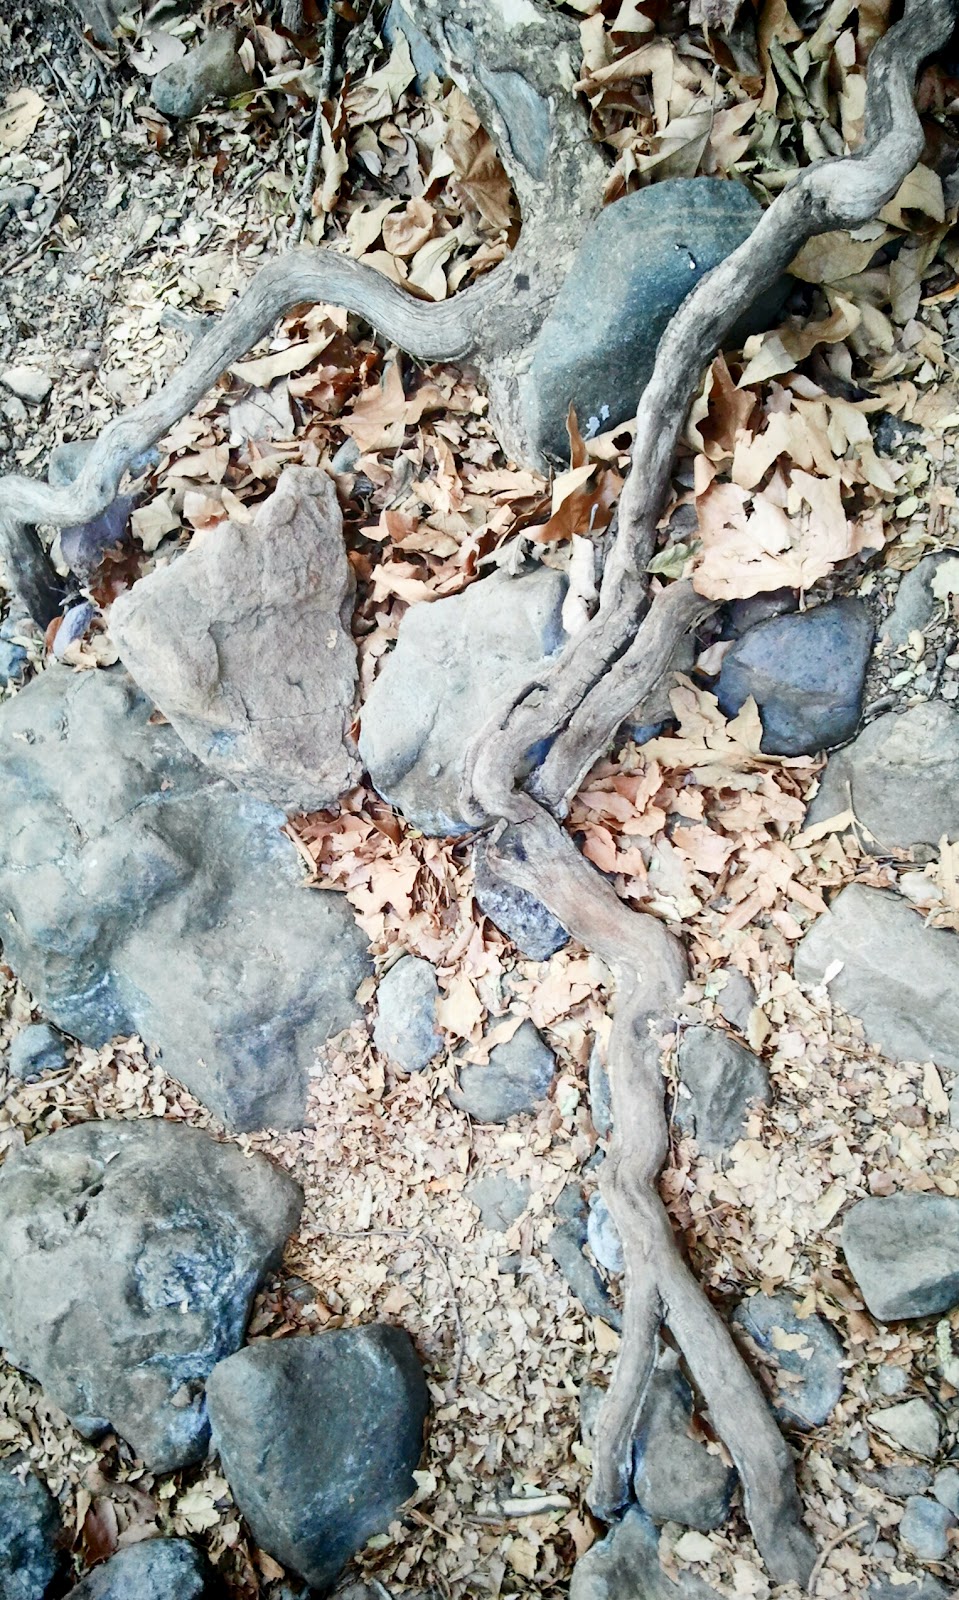
At some points in the walk, you'll find roots which have grown over the rocks. A little haunting, isn't it?
We took a wrong turn which involved a hard, steep climb onto a sudden drop. Here's Win looking down to where we're supposed to be. I loved the huge rock face in the background.
At the end of the actual trail, you can continue on over boulders to reach the grotto. It's not easy for unseasoned climbers or hikers, but if you're willing to get a little dirty, we didn't find it too hard at all. Here's Win making the steep climb between the rock-face and a pile of boulders. I'm waiting at the top before we continued on for a steep climb down.
Me resting at the opening to the grotto.
Win inside the grotto. Look how small he is next to this hollowed-trunked tree. A gorgeous display of roots, this guy was. Very sad but also very beautiful and alive!
The water in the grotto is lovely and clear!
Over Win's shoulder are all of the rocks we climbed over to get to the grotto!
This is about where we stopped before turning around. In the distance is a huge, moss covered wall which someone has regretfully defaced by scratching their name into it. Nonetheless, it told us that we could have kept on going, but all that rock climbing wore me out. All of these boulders were the size of an average bedroom -- while broad enough to stand and walk across, it was hard to get from one to the next without climbing, sliding or jumping. x_x
And so, we headed back. Here is a picture of Win making his way over some rocks.
Once you're out of the grotto, you're back on the trail heading back. Here is a photo of what the wooded trail looks like.
Some parts of the trail are easy -- just hardened earth.
Directions: *Start from Circle X Ranch which is 5½ miles from the Pacific
Coast Highway on Yerba Buena Road in Malibu. Alternately, from Westlake
Village, exit on Westlake Blvd from the 101 Freeway, and follow it south
for several miles as it merges with Mulholland highway. Turn right onto
Little Sycamore Canyon and it will become Yerba Buena Road as you cross
the county line. Proceed on Yerba Buena Road for about 5 miles to the
Circle X Ranger Station on the left side of the road.
We would suggest driving from the PCH and accessing Yerba Buena Road from the west. Driving across Yerba Buena from the 101 is extremely long and winding. This may cause delays as you will have to drive rather slowly at times to accommodate for the bikers and other cars you'll find on the road. However, if you don't mind it, it is gorgeous and a scenic drive!
So, after a lovely hike and drive west to the Pacific Coast Highway, I am happy to report that Yerba Buena Road ends right at
Neptune's Net! This seafood restaurant is a popular spot in Malibu which overlooks the beach. You're sure to find biker gangs miling about out front, too. A great people-watching and seafood nomming spot. :)
Grab a drink, get in line, and get ready for some good 'ol American-style fried seafood. Yikes!
Beware. the restaurant side has all the fried foods. There's a less subtle entrance on the other side for fresh foods. Over there you'll find oysters in a half shell and steamed lobsters.
Obviously, we didn't know about the "fresh seafood side" until after we ordered this sampler plate. More than half of this platter is in our fridge as I type this. On the right is a pint of chowder which was delicious. :) I recommend it.
Bottom's up!
And after a hearty meal, you can hop skip across the PCH and go for a walk on the beach. I would recommend doing the trail early in the morning, coming to Neptune's Net for lunch, then spend a hot afternoon on the beach. Coming from a Californian, this would be a perfect day here. :) To us, at least.
This was a fantastic mini-vacation for us Californians. If you're coming to California for a visit, I recommend trying out this kind of itinerary for a day!
* http://www.localhikes.com/Hikes/Grotto_4472.asp
More info: http://www.nps.gov/samo/index.htm